


It’s taken a bit longer than I would have liked to finish off the crane (see part 1) due to life getting in the way – weekends away, social commitments etc but we’ve finally done all that we can do. I shall explain.
At the end of part 1, we’d finished bags 1 and 2 and here’s where it went a bit pear shaped. JJ took bag number 3 into his room and built the crane extension part by himself.

He did a good job of putting that together but in the process he lost one of the essential parts that holds the base of the crane to the crane extension part. It hasn’t turned up and this is despite a two hour tidy up in his room and searching everywhere for it.
Fortunately Lego offers a service to replace lost parts so I went online and ordered the missing part and it should take about three weeks to arrive. So while we have a crane, we can’t operate it until this part arrives. Despite this we still finished off what we could. Again, I’ve added page numbers of the instruction book to go with the images below.
Page 64


See if you can spot the time of day that we did this (hint – look at JJ’s mouth).
Page 68


Putting the finishing touches on the crane.
Page 79

It still amazes me that the creators of Lego can reverse engineer something like a crane and make all the bits that fit together to make something like this.
So until we do Part 2a of this post when we get the replacement part, go have a look at some Lego creations:
- This is a collection of the top ten strangest Lego creations. The crane above took about 3-4 hours but some of the items in the collection took months to build.
- A collection of stunning Lego creations including Batman, a man sitting on a chair, an elephant etc.
- A whole Lego city
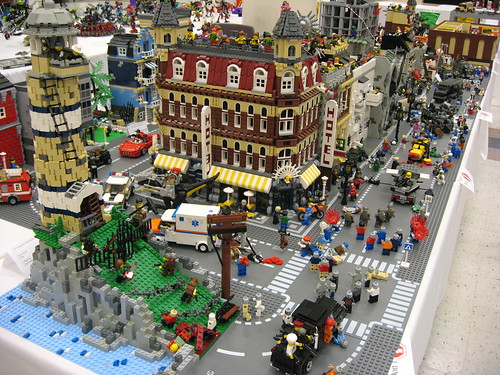
 photo credit: Dunechaser


[…] have a read of Building the crane – part 2 and you’ll discover why what should have been the final post about this is now going to be […]