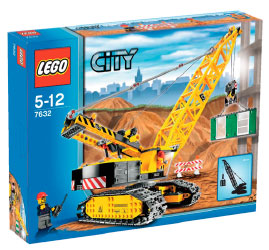
 We were recently sent the Crawler Crane Lego to try out and review. It’s a new product for the Lego City range and retails for $99 inAustralia.
Instructions were to document the build of it with photos etc. I jumped at the chance, and so did my son, because it was something pretty cool for him to do and something we could do together. It consists of 481 pieces and the instruction book is huge.
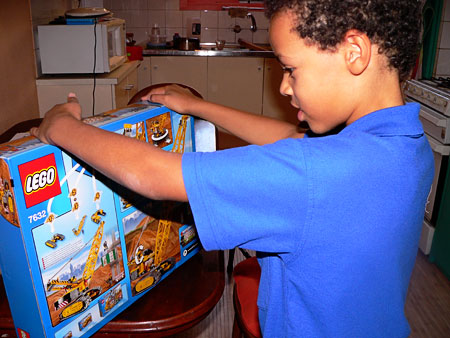
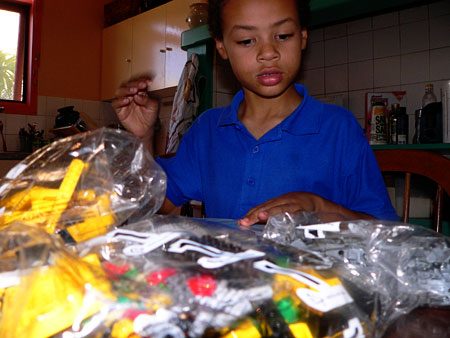
I’ve decided to do this review in two parts because it’s a fairly lengthy process and one long post might be a bit too much. Also the pieces are packaged into parts as you build different sections. In addition, where relevant, I’ve included the page number of the instruction book so if you have that you can see where we’re up to.
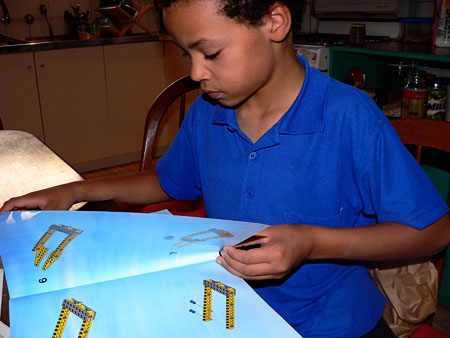
My experience with Lego is that the instructions are really comprehensive and pretty clear which is why the instruction books are so long.
So we started with package number 1 to build the figures, other miscellaneous bits, and the base of the crane. (He had to get his face in the photo!)
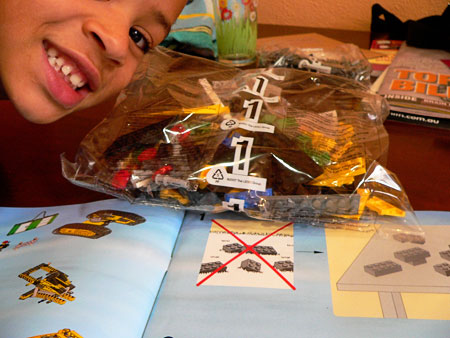
When we started I gave it half an hour before we had to stop because it was after school and before dinner. I got so carried away helping JJ out that I forgot to take pictures of him actually putting pieces together. Oops, me thinks this is as much fun for adults as for kids.
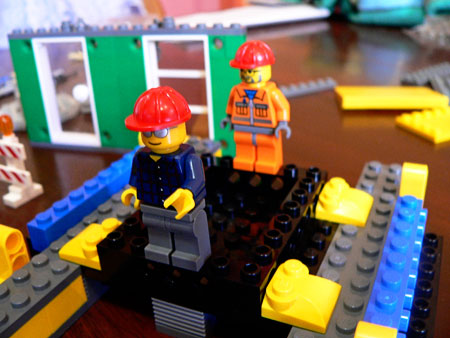
The two photos below show what we achieved in half an hour. JJ is seven years old and I doubt whether he’d be able to put this together himself. He was pretty good at finding bits and figuring things out but Lego requires exactness because if you get one step wrong it impacts on the next step. Fortunately if this happens it doesn’t take much to figure out what’s wrong and fix it.
Page 17
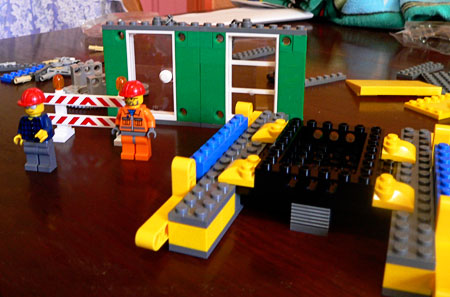
The image below shows the base of the crane nearly completed. JJ put the figures on it for fun.
Page 21
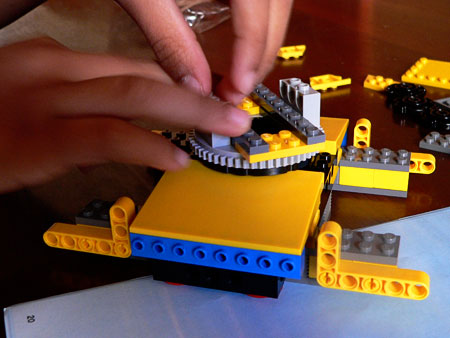
While I organised dinner JJ started doing the crane’s moving bits at the base. Let me just show you the picture because I obviously don’t know the proper terminology.
Page 27
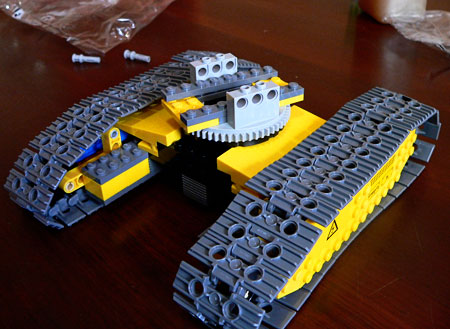
Now we were up to opening bag number 2 to build the bit inbetween the base and the actual crane.
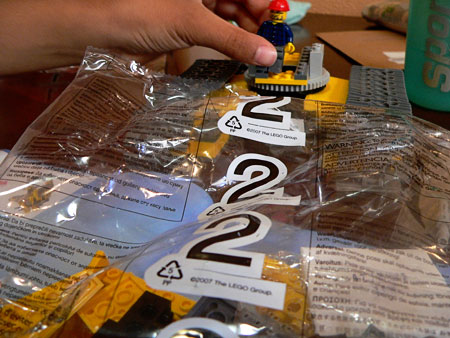
JJ did a lot of this himself because again, dinner duties took over my time. Having said above that I thought it required parental supervision, he proved me wrong here. When I came back on the scene to help out it took me a short while to rearrange a couple of bits that he got back-to-front or upside down.
Page 34
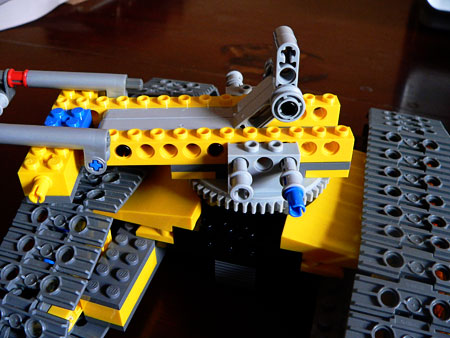
By this time I’d lost track of how much time it had taken to get to this stage, but a guesstimate would be around one and a half hours.
Page 40
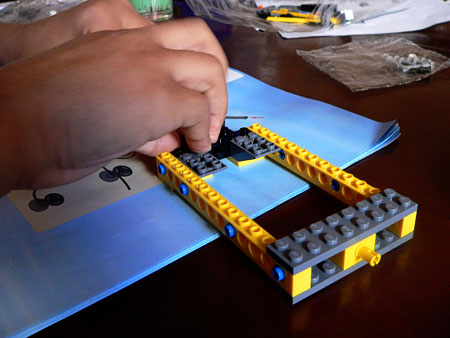
Page 41
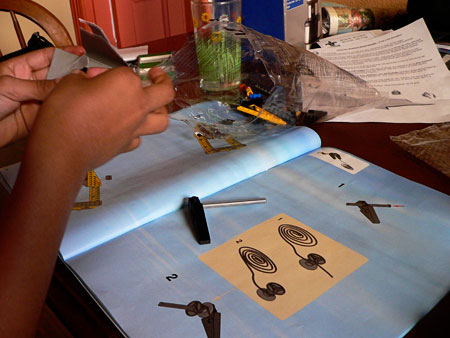
JJ wound the string onto the bobbin and then I had to redo it because he hadn’t held one end while winding the handle. Being a sewer and having experience winding cotton onto bobbins helped me out here and JJ was very impressed when I showed him.
Page 44
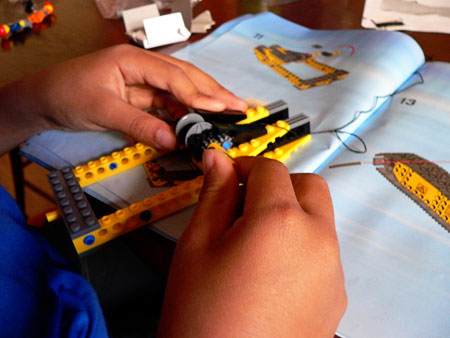
This leaves us pretty much at the beginning of opening bag number 3 and putting together the crane extension bit.
So far it’s been a great activity to do as a team and JJ can’t wait to finish it. We’ll try to get it done in the next week or so. Stay tuned.


JJ has done a great job with his ‘engineer’ to assist in deciphering the instructions ! I always struggled !